
Gosh I’ve got so much to say about chicken safety! Where do I begin?
I don’t care who you talk to, or what group wants to put their two cents into the conversation, you have to find out what works for you. Environment of your area plays a huge part in what and how you build your coop and chicken yard.
To take other voices out of the equation, here’s what I did…
Stop and Look- You have to stop and think of yourself as a Dog for a moment, or maybe even a Wolf, Coyote or Fox. Inside an enclosure you see delectable feathered morsels of juicy chicken meat. All those chicken-legs, are all walking around, just barely out of reach. How do you get them? This is what they think…
It’s my job to make you think outside of your comfort zone on this topic.
This is what has been prowling my hen-house / chicken yard.
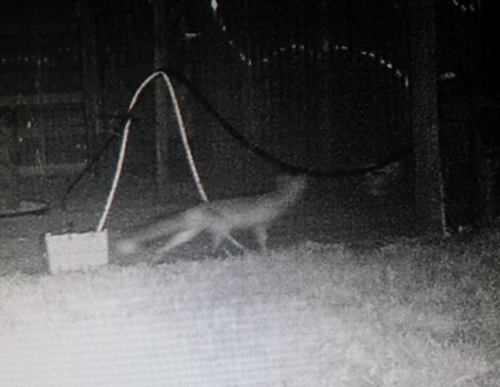
Lousy Trail Cam Shot, but good enough for the Wildlife Officer to ID it was a Fox.
You are going to have to out think what wants to eat your chickens.
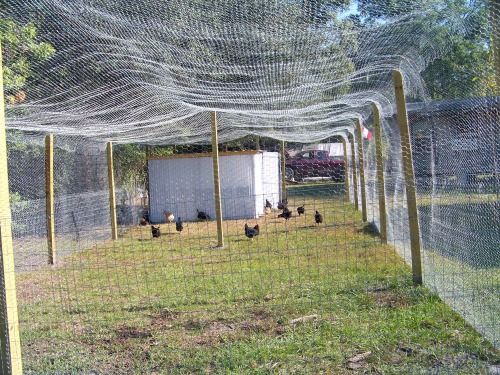
When we began this journey of (first blog post) having chickens, it was an expensive venture. I mean just wire and wood cost us about $1000.00. However, I really had a huge chicken yard. Now, thinking back, it was a bit over-kill. Half of the size I had planned would really have been enough. Initially it was 50 foot long and 20 foot wide. The chicken coop was 10 foot by 10 foot. The below photo is while this chicken yard is under construction so it’s not complete.
This chicken project has monolithic thought attached to it. I have learned so much since this project began. I’ve learned so much since my first set of hens became a dogs dinner.
We Hoped it was safe…
What I do want to share with you, is that you can’t see all the details here. Here’s the break down on what we used in the build. Then how we used it.
My first suggestion to you, is that you do not buy “chicken wire”. It’s fairly useless and the holes are too large. It also rusts away very quickly then you lose any integrity you might have had when you put it up.
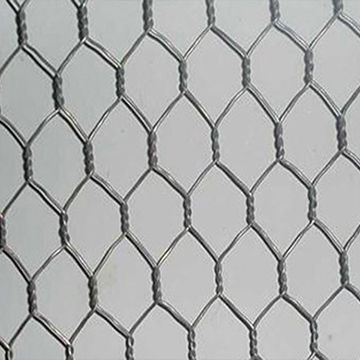
1# This is galvanized 1″ poultry wire (Biddy wire). It is stronger and last longer. Mine is 7 years old and still doing its job. Get a good thick gauge wire. You will thank yourself later on. One inch Biddy wire has smaller holes. It is used so nothing can grab a hen from the outside and pull them through or just eat what they can grab onto and then let them go (How horrible to think of).
This is your fist layer of wire to build with.
 <—-This goes all around and on top.
After we stretched this wire around the sides, we tacked it down. Then we went over the top and fixed that in place. Afterward, it was wired down on the edges to the side panels. This made it into one huge blanket of wire which was fixed tightly to the side (shown below).
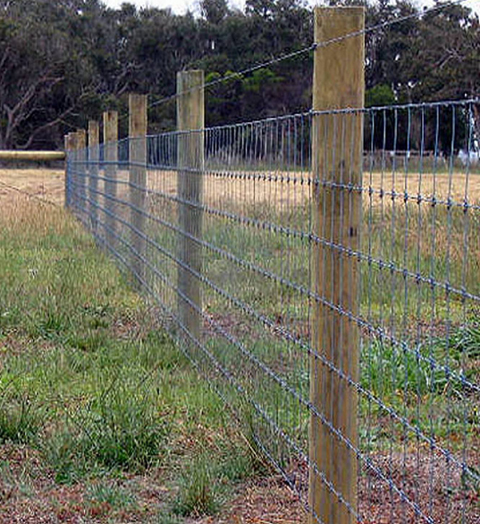
Photo shown is not 1″ mesh wire, it’s also cheap, but it shows how we fixed the top to the sides. No this is not my photo.

After you get your whole enclosure covered (including top), you go to step #2.
#2 -One of the things I insisted on was 4 feet of galvanized Horseman Mesh fencing (which is made from both 12.5 and 10 gauge wires with 2″x4″ holes). The horseman fencing is designed so that horses can not get their legs through the fence and also hinder predators from getting in. I figured it would keep out the dogs (and now Foxes).
This wire was put on the outside of the chicken yard over the first layer of galvanized 1″ wire. (The chicken yard had double wire. You can see this in the photo up top).
Now after you secure this 4 feet of galvanized Horseman Mesh fencing, you might think you are done… Nope. This next step is actually the most important step in the whole process.
Lay the Horse Mesh fencing down on the ground and roll it out the length of your chicken-yard. Now, split it in half making it, 2 – 2′ tall panels. After you get through cussing this process, wire one panel to the outside of your 4 feet of galvanized Horseman Mesh fencing you tacked up to form your side protection barrier. You wire it just like you did your top 1″ wire. Same process. You want this 2 feet of horse wire to cover your ground laying FLAT and be knitted to the side panels completely! Don’t skimp on this process. It should make an “L” shape when done. Remember “L”.

Just so you get the full idea. Here’s a photo I snapped of how we attach the ground wire to the side of the pen. It is a long and arduous job, but the payback is worth the effort.
Here you see the ends of each wire which had been snipped off of the 4 ft panel, wound around the upright wire on the sides.
(On a side note…. I also got tent stakes and drove down where the 2 foot panel ran along the ground, on the outside. My husband thought I was nuts. I didn’t want anyone to trip over the wire, and I figured it would give extra protection until the weeds grew into the holes of the wire).
I had to rake then wash away the dirt so you can see…
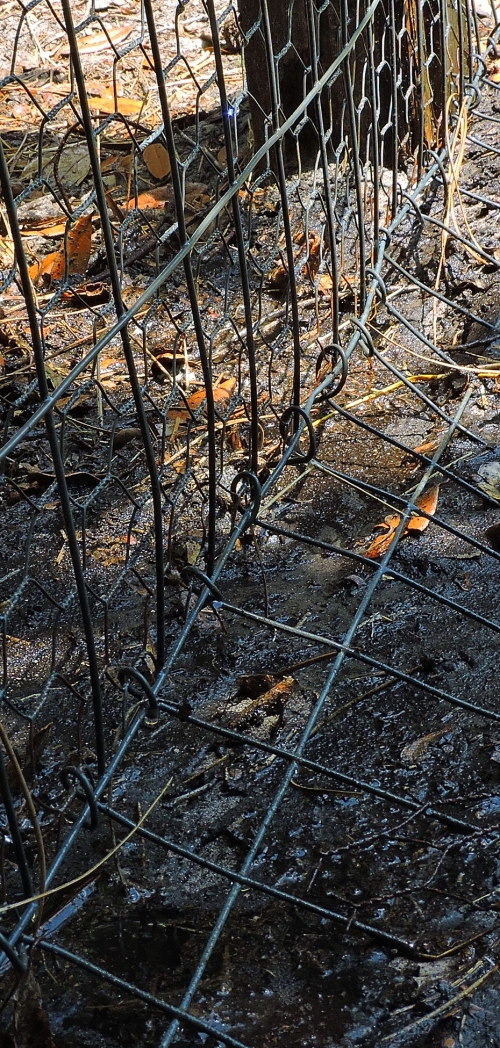
This is whole idea though. You have to keep that Dog or Fox or Wolf, from digging into your chicken yard. They will try to go up-to the wall and begin digging downward. They can’t dig through that 2 feet of wire which you secured to the side of the run. Over time, that wire will fill up with Grass or weeds, maybe even a small shrub or two. That is also a good thing; more barrier of roots to stop them.
It’s been 7 years and it is still strong and I don’t see rust.
When I feel like talking about chicken coops and keeping hens safe there, I’ll type more.
The over protective Chicken Mom
Can you see the heart? LOL

The Happy Rump

